The time finally came - I've wanted to do a wrap on my Raptor's roof for a while... why? Because I think it would look good - especially on AG (Avalanche) color. I went with 3M Gloss Black to give a nice contrast and blend the front and rear windscreens across the truck.
I went to my friend's shop - The Auto Vault, Inc. Not just because they're friends - but their team does amazing work - everything from wraps, tint, wheels - the whole deal! Plus they have a car storage facility that is top notch! Check them out! https://www.autovaultinc.com/
One of my biggest pet-peeves is when people hold their phone while they're driving - especially when it's a big-ass truck - like a Raptor... HELOOOOO it's almost 3 tons - you're gonna kill someone...
There are tons of mounts out there - just get one, I ended up choosing the ProClip model and have had them in 4 of my vehicles over the years... they are very well engineered, and haven't had any issues with any phone (or GPS) drops over the years...
quick assembly with a few screws - you buy the right holder for your phone, the long mounting bar has 2 tape strips and it hooks into the dash where the defroster vents are located
simply peel the tape, and hook the back of the mount in the slot
now you mount the front with the tape to the driver side vent
now you see it mounted - almost looks stock!
and here's the final result - perfect placement to see and not TOUCH the phone :)
Ever sit in your F-150 and wish you could 'pop' the tailgate, much like if you're in a car and you want to 'pop' the trunk? Well, now you can!
Long story short, you can order this kit here for $25
note: This mod only works on the 2017 Raptor with 802A package.
This modification behaves exactly as a trunk release button in a Ford sedan would. Meaning, it will not function while the Truck is moving. It will not function if the truck is not in accessory mode or turned on. The system cannot be damaged by leaving the upfitter in the on position either. Leaving the upfitter switch toggled on is the same as pressing and holding the trunk release button in a Ford sedan. Once the signal to open the trunk is sent no more power is sent to the actuator, all signals are ran through the BCM processors. This is a modification that operates as an OEM system would.
FAQ:
Q:Does this modification require permanent modification to my vehicle?
A: No. Zero factory wiring will need to be cut or spliced (aside from the upfitter switch wires)
Q: How long will this take to install?
A: Approx 30min. Less time for some who is experienced with following simple instructions and the use of a wrench (haha).
Q: Will leaving the upfitterswiatch on cause damage? or overload the tailgate actuator?
A: No. Absolutely not. By flipping the up fitter ONE single signal is sent to "pop" the tailgate, after this signal is sent no more power will be sent to the tailgate.
Q: Will this modification work while the vehicle is in motion? While the vehicle is powered off?
A: No. This modification will only work when the ignition is in the ACC/ON/RUN position and the vehicle is not moving faster than 1MPH, regardless of gear selected.
$25 Shipped via PayPal Goods and services
(Please add $6 for international shipping if outside USA).
Each kit Includes:
-DETAILED, PRINTED FULL COLOR INSTALL INSTRUCTIONS
-All required wiring and relay. Everything is prewired and labeled for ease of installation.
-Wire ties and heat shrink tubing to insulate and secure splices.
-This kit requires ZERO cuts or splicing into factory wire harnesses and takes less than 30 minutes with basic tools to install. (splicing of up fitter switch wires required)
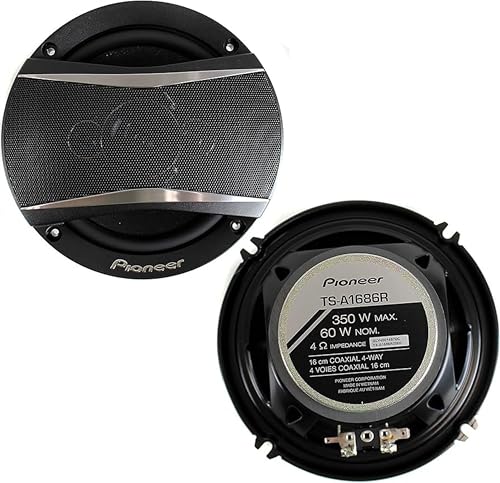
Recently I replaced the front door speakers and applied dynamat to the doors - HUGE difference! I got some time to do the rear doors - just as amazing difference. Now that all the doors are timbre matched the truck sounds EVEN better! The Dynamat Sound Dampening really reduces extra noises as well...
Here are some quick tips in case you haven't done this before!
Here are the tools I used: (turn off your ad blocker to see!)
Welcome to the rear doors - very much like the front but only 6 x 7mm screws
he tools that were used...
flat screwdriver slot at the bottom front to help you pry off the handle...
simply pull outward, keeping in mind the tab at the rear of the handle
use your tool to pop open the panel under the handle...
now you can remove the 4 7mm screws in the handle area
and 2 7mm underneath the door
I didnt do this on the fronts, but removing the door handle clip is really easy - just pry down on the tab at the bottom of the clip, it pops right out!
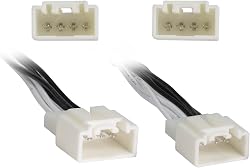
remember to unplug the connectors - I had 2 behind the handle and of course, the wire clip going to the speaker itself... naked door!!!
You will still use your 7mm socket, remove the 3 screws from the speaker - there are 2 pegs in the speaker mount - don't worry the speaker won't fall out :)
ok - NOW the door is really naked :)
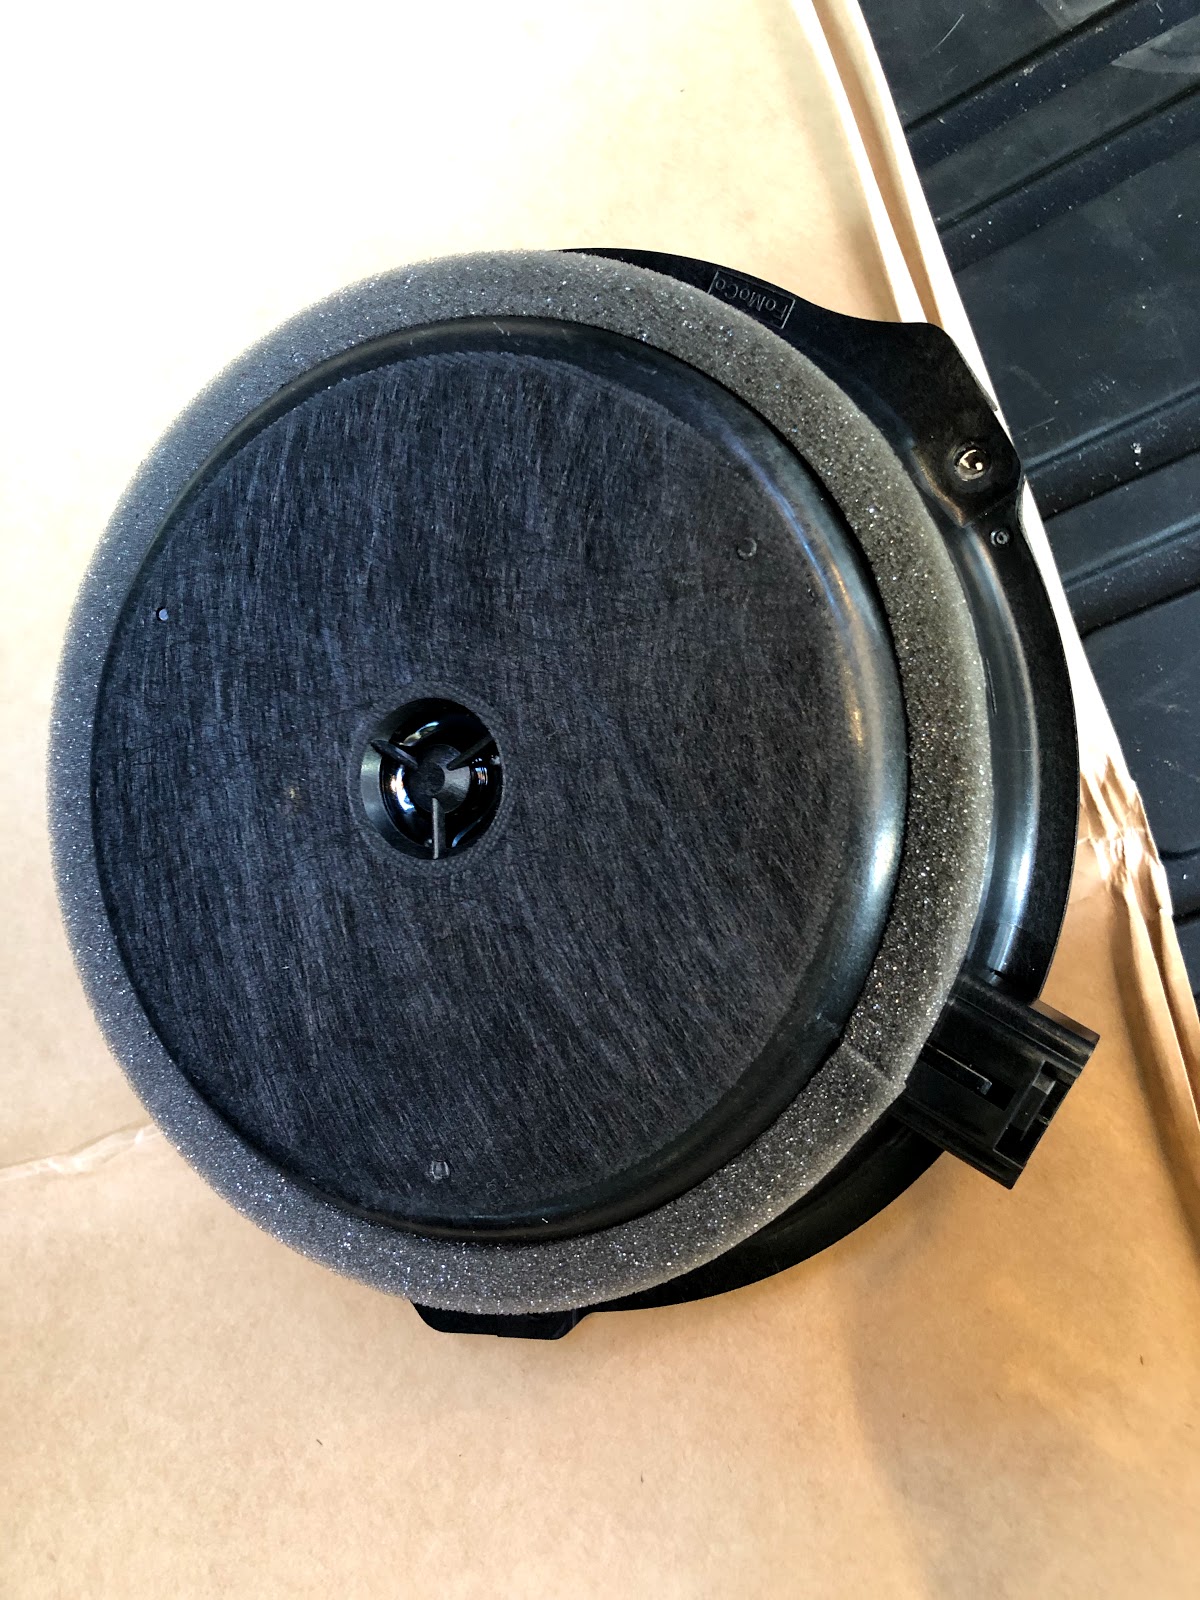
look at the stock unit... yikes! makes you think WHAT ARE THOSE!!!?!?!?
Slowly peel back the sealant on the vapor barrier, use a utility knife carefully - you'll re-use the stuff.
Here's how I do the speaker holes - start at the center and cut radially to the edges, I usually do 8 slices (like cutting a pizza)
another pic slicing...
next - put each slice behind the door and tuck it in tightly against the back of the panel - this acts as a good seal for the speaker mount and also adds sound deadening right at the speaker
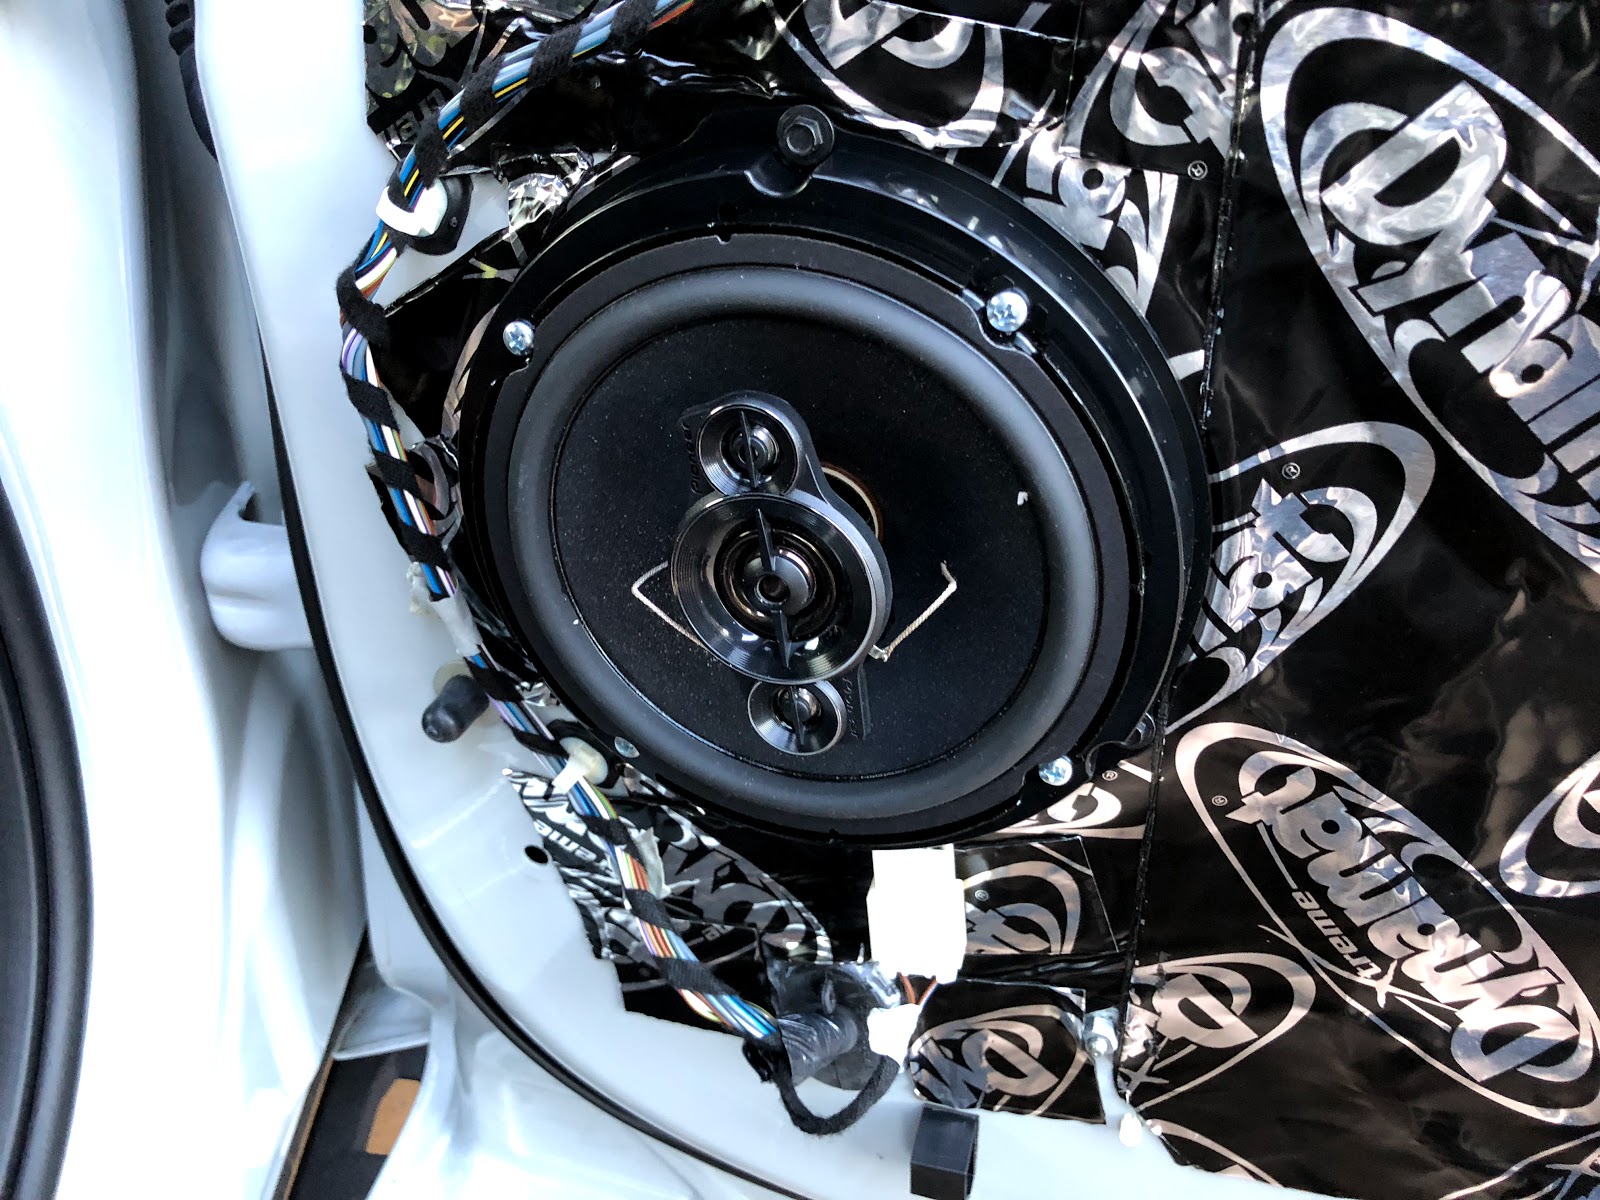
now you can see the finished speaker opening - be sure you use a utility knife to poke the Dynamat where the speaker mount screws are...
keep working on the door panel with dynamat and rolling it out
here you can see the new speaker next to the OEM one...