Showing posts with label f-150. Show all posts

Wednesday, November 30, 2022

Rebuilt the shocks at a local shop - Forged Offroad

 I have about 57k miles on the Raptor now, and given my driving style it's suggested to have the stock Fox shocks rebuilt around 50k miles.  If you're a major off-roader, you may have to do this every 10-30k miles depending on the daily beatings.  Fortunately, Forged Offroad is about 11 miles away and they do the majority of shock rebuilds for these trucks and are part of an avid off-road community as well!

For local customers, we can bring to the shop in the morning and it's done by end of day.  In my case, I got there about 8:45am and they called me to pickup around 2:30pm - great time! 


Here's how they look after the rebuild - great team, and great work!


Thursday, July 21, 2022

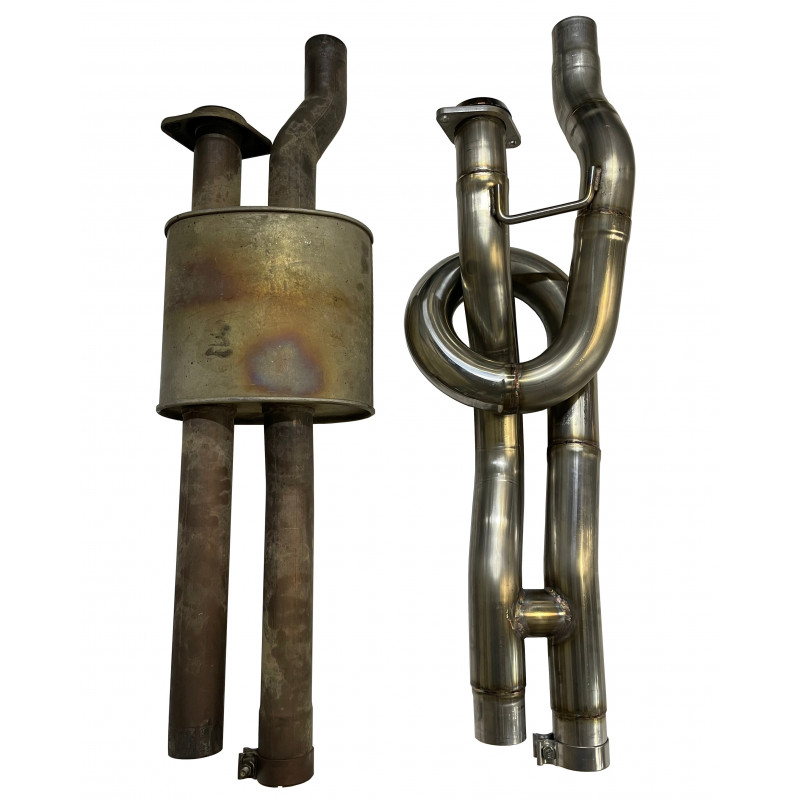
SPD Gen3+ Trombone Equal Length Resonator Delete Installed

 It's been 4 years since I changed the exhaust with the Flowmaster Flow FX setup and was looking for something a little different.  SPD created this new equal-length resonator delete pipe that mimics the 2020+ Raptor exhaust.  It's pretty funky looking!


When I first reached out in February, I asked SPD about "drone" and they said absolutely no drone... well, it's not entirely true.  


The pipe showed up a few weeks ago, so aboutI had mine installed today - ordered February, showed up about 2 weeks ago... almost 5 months waiting!!!

My initial review (sorry no video yet)
  • The truck idles more deeply, and sounds throatier
  • it's definitely LOUDER for sure, but very cool to hear how this engine 'breathes' - you can't hide any throttle wiggle with this pipe!  Seriously with this mod, it sounds more like you're driving a Ford GT - it's pretty crazy!
  • sadly it drones around 2-2.1K rpms which is really disappointing, which is a lot of driving around town RPMs when in sport mode, and hunting right around 6th gear...
Maybe it's just the difference from the FlowFX which tended to rumble more in the middle of the truck - now all the sound has moved to the rear outlets...

I kept my Flowmaster FlowFX if I want to go back but will give it some time to wear in a bit

Hope to record and post a video soon for a better sound review.


Monday, February 10, 2020

BuiltRight Industries Rear Seat Release review

BuiltRight Industries has made this rear seat release for some time now.  This is the new version that fits newer +19 F150s too!  Plus they're cheaper now!  They used to be $35!


  • CNC Laser Cut Brackets
    • Brackets are precision CNC laser cut and CNC bent for perfect fitment every time. They are then black zinc plated, NOT painted, for corrosion protection.
  • Modern Glass Fiber Reinforced Composite
    • Unlike the knockoffs, our new brackets are injection molded from a fiberglass reinforced composite, which leaves smooth edges and allows for tight, 'click fit' tolerances. The result is no rattling and no risk of cut straps.
  • Fits Newest Ford latch
    • The latest version of the stock latch from Ford uses a square head rather than a round featureless pin. Around half of the new trucks built use this latch. Only the newest BuiltRight revision accommodates these new latches.
2 T-30 Torx bolts need to be removed, and slide the existing bracket toward the top of the seat

Next you loop the composite part over the pin, and slide the metal bracket into place.

Re-attach with the same T-30 torx bolts and voila!  It's done!


so much extra space back here for 'stuff' :)


They were out of stock for a few months during the black friday sale 2019 - now they're back in stock!  Very simple install!


Friday, December 20, 2019

Added some more patriotism to the Raptoad!

This time of year is always fun, black friday and cyber monday really promote some great sales!  I was able to get a great deal from http://rappygraphics.com again to add some more love to the Raptor...


First I got the tailgate all cleaned up!

First sticker is the F-150 overlay in Avalanche to match the truck's paint...

Next, was the Raptor overlay, still in Avalanche... 
Looks awesome with the Raptor Assault sticker that I got from the event back in April 2018.

Lastly, the Thin Blue Line American Flag FORD Tailgate Applique Set with reflective material... 

Gosh she looks good eh?


Thanks Rappy Graphics!!

Wednesday, July 10, 2019

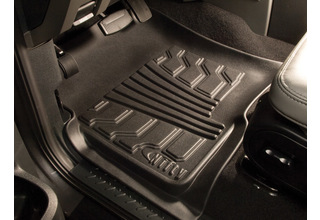
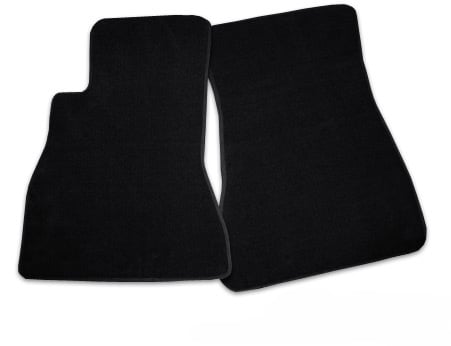
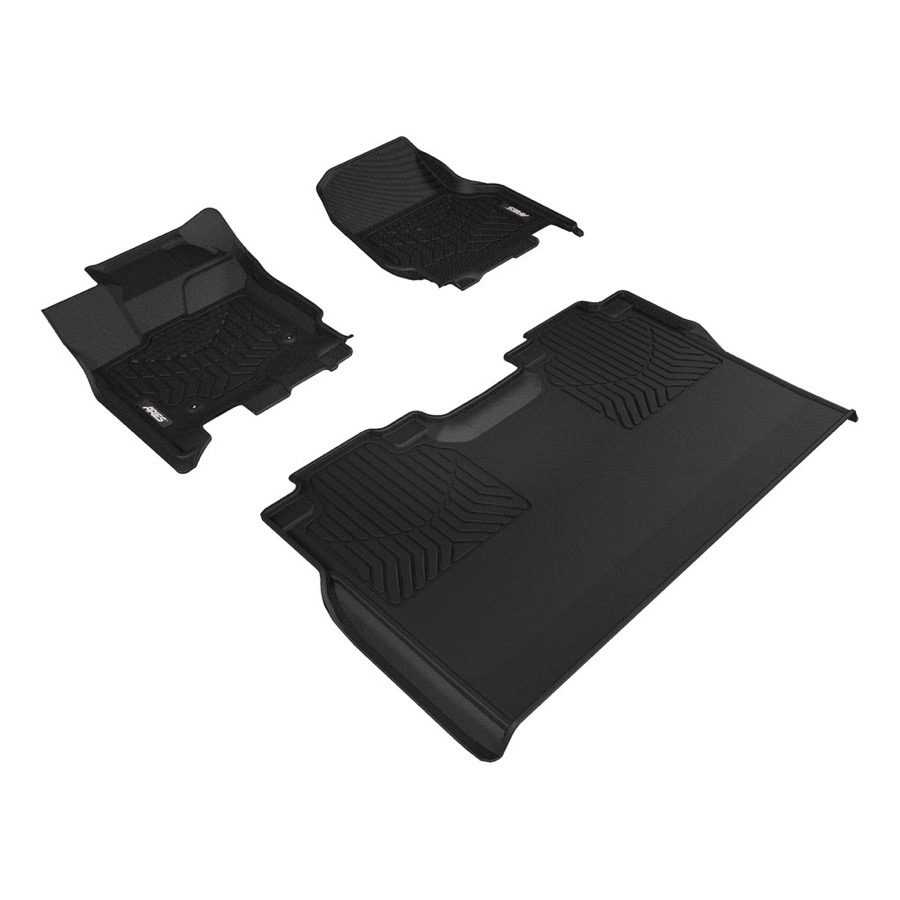
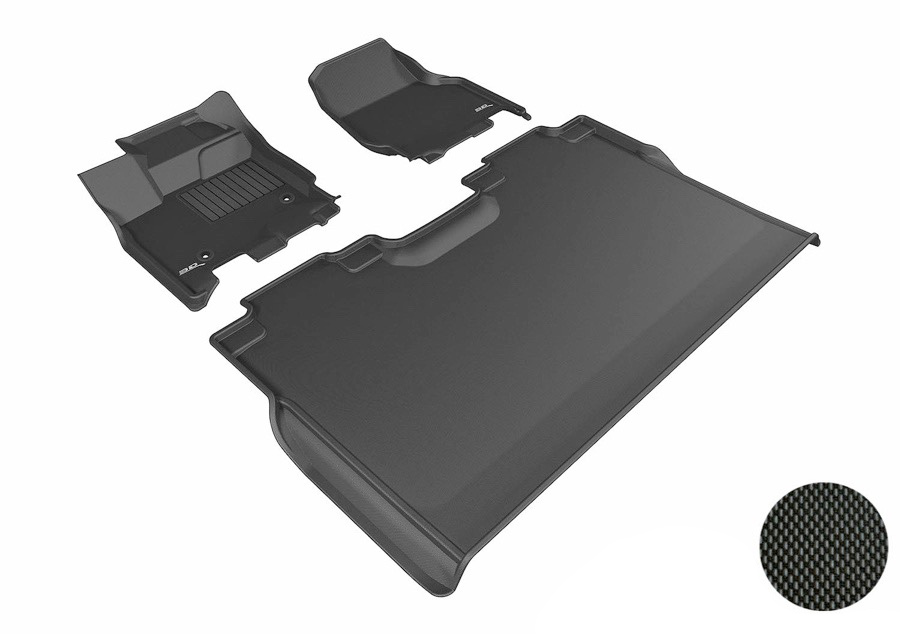
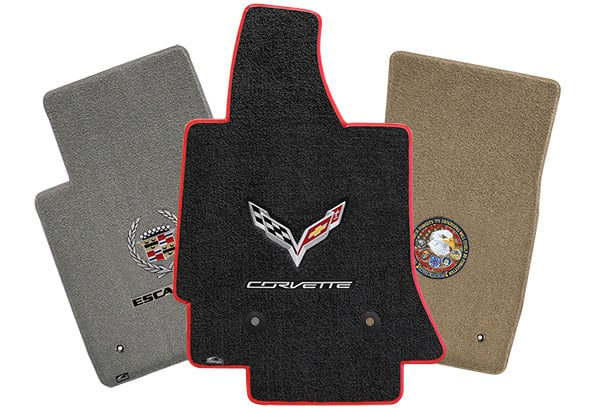
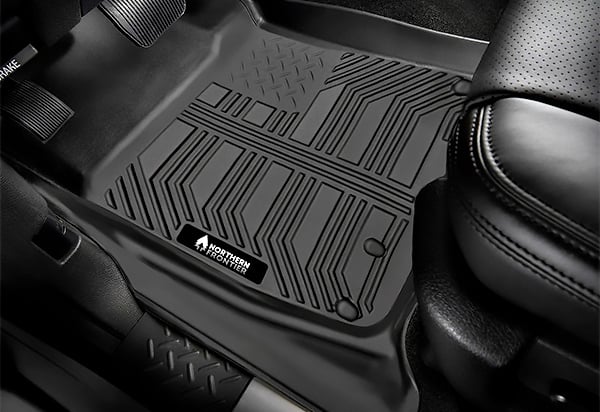
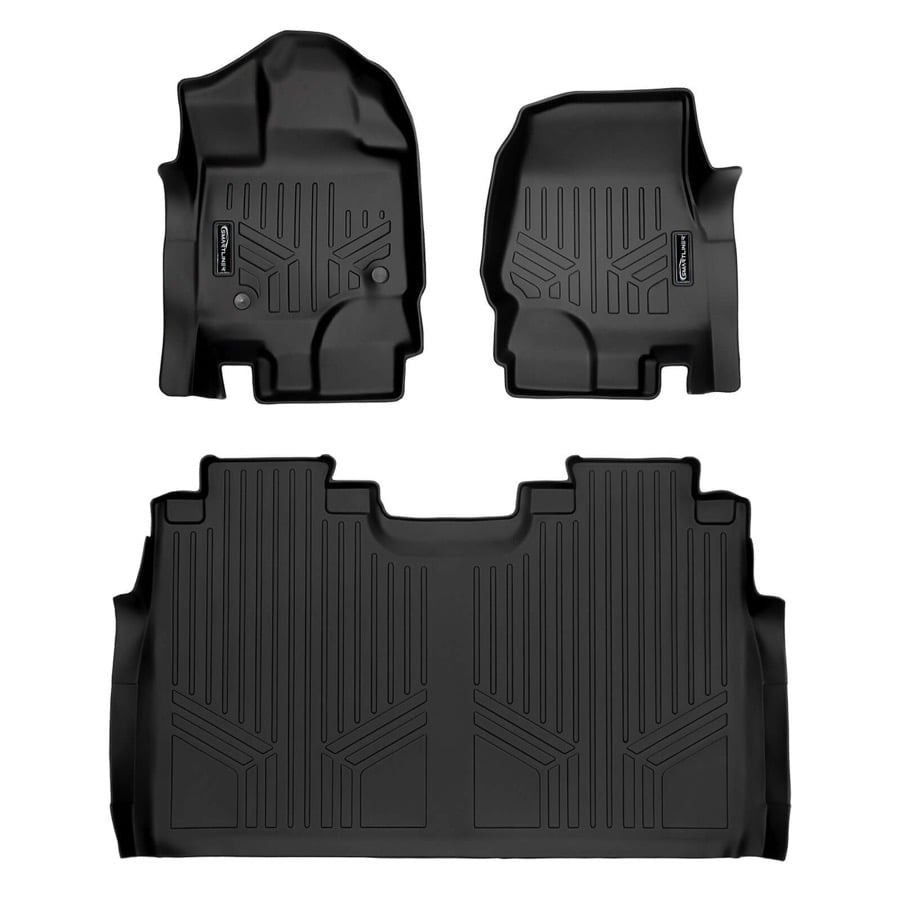
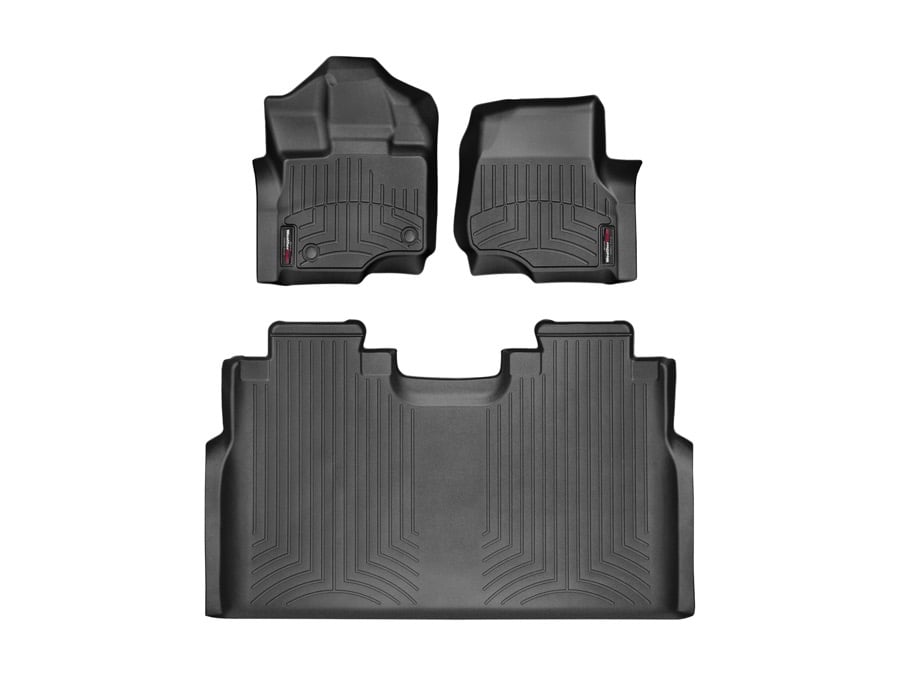
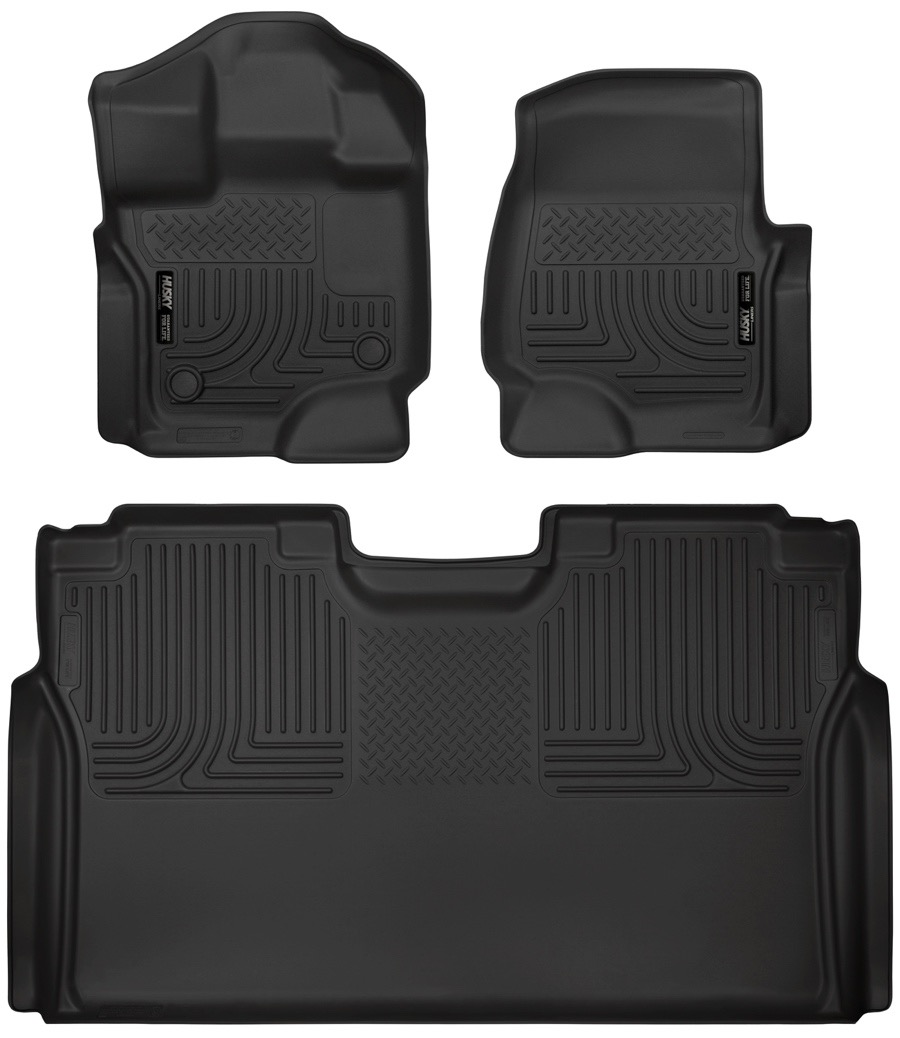
pick your choice of floor mats... Top 10 here!

My floor mats are starting to wear at 24k miles (seriously?!)

here's a list of the Top 10 replacement mats - what do you think?


The all new Lund Catch-It line is custom-molded for a perfect one-piece fit in your specific vehicle, providing the widest coverage for your floors. The mats are molded from tough Vyram material, which resists all the mud, snow, and chemicals you can dish out while still looking great. The Lund Catch-It Floor Liner is designed for premium convenience and function as well.

9. Avery's Touring Floor Mats $74-183 (ugh fabric?)

Avery's Touring Floor Mats bring modern style to your aging interior. Built of tough nylon, these custom mats come in a variety of colors to revitalize your car’s look and cover up pre-existing stains.


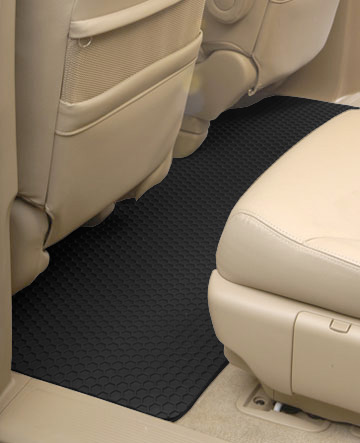
Intro-Tech molds your Hexomat Floor Mats from an advanced composite rubber material that will never crack, fade, or fall apart. The mats are durable enough to handle a lifetime of kicking, yet flexible enough to handle and sit nicely on your floor. They're custom-molded to your exact vehicle, ensuring a perfect fit and great looks. Plus, the honeycombs hold so much liquid there's no need for clumsy high-walled outer trim.


Your Aries StyleGuard XD Floor Liners are built with three durable layers to offer unmatched protection and performance. A flexible, TPR top-layer is completely waterproof and designed to withstand both time and UV-rays – no cracking or fading here. This thermoplastic top-level also features raised edges and channels to completely contain any muck, mud, or spilled drinks. A polyethylene foam center brings cushion and comfort to these mats, as well as climate insulation and reduced road noise. Finally, a tough-grasping underside features thousands of OmniGrip™ fibers which keep your mats fiercely in place.


Maxpider Kagu Floor Liners boast a 3-layered design that offers protection, convenience, and comfort. The top layer is crafted from a textured thermoplastic that resists cracking and deforming, while the middle cross-linked polyethylene (XPE) layer offers shock absorbency and insulation from outside noise and temperatures. The bottom layer boasts unique MAXpider fibers, which grip onto your factory carpets without damaging them and hold the liners tightly in place. These mats are easy to clean, even easier to install, and complement any interior beautifully.

5. Lloyd Ultimat Floor Mats $79-170 (no F150) boo!


Forged from a form-fitting thermos-plastic, the raised edges and ribbed top texture of Northern Frontier ToughLiner Floor Liners are enough to handle the filthiest of work boots. These durable mats are designed specifically truck and SUV drivers in mind. The results are a tremendously tough liner that’s made in the USA and backed by a Limited Lifetime Warranty.


Using computer technology to measure the exact specifications of your make and model, Maxliner MaxFloormats will cover every inch of your “danger-zone” with durable polyethylene. This low-density material is both flexible and durable – give you a mat that’s both functional and fashionable. With reinforced edges and textured for traction, these mats are definitely tough enough for the job.


First off, one of the biggest names in the industry, WeatherTech. Their DigitalFit floor liners get their name from the precise, laser-measured process through which WeatherTech attains such a perfect fit. Designed for vehicles with factory carpet, this high-density tri-extruded semi-flexible material is simply as good as it gets for many. After all, the reputation didn’t come from nowhere.


Also available in a cargo liner, the WeatherBeater line from Husky Liners is always a top seller. With a thermoplastic construction and extra-tall exterior walls, these mats will stand up to any weather and any climate for years and years to come. Each set comes custom-made to cover every inch of your interior carpet, and Husky backs these with a Lifetime Warranty. Plus, cleanup is as easy as can be - just remove the mats and hose them off in your front yard.

Monday, July 16, 2018

ProClip phone Mount 2017 Raptor...

One of my biggest pet-peeves is when people hold their phone while they're driving - especially when it's a big-ass truck - like a Raptor... HELOOOOO it's almost 3 tons - you're gonna kill someone...

There are tons of mounts out there - just get one, I ended up choosing the ProClip model and have had them in 4 of my vehicles over the years...  they are very well engineered, and haven't had any issues with any phone (or GPS) drops over the years...


quick assembly with a few screws - you buy the right holder for your phone, the long mounting bar has 2 tape strips and it hooks into the dash where the defroster vents are located

simply peel the tape, and hook the back of the mount in the slot


now you mount the front with the tape to the driver side vent


now you see it mounted - almost looks stock!


and here's the final result - perfect placement to see and not TOUCH the phone :)


Friday, April 20, 2018

2017 Ford Raptor rear door 6.5" and Dynamat

Recently I replaced the front door speakers and applied dynamat to the doors - HUGE difference!  I got some time to do the rear doors - just as amazing difference.  Now that all the doors are timbre matched the truck sounds EVEN better!  The Dynamat Sound Dampening really reduces extra noises as well...

Here are some quick tips in case you haven't done this before!
Here are the tools I used: (turn off your ad blocker to see!)


Welcome to the rear doors - very much like the front but only 6 x 7mm screws


he tools that were used...


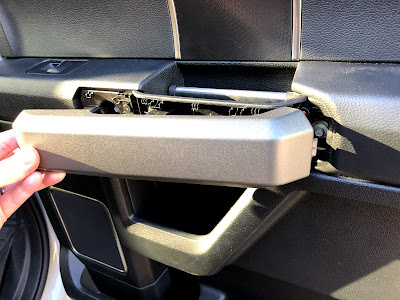
flat screwdriver slot at the bottom front to help you pry off the handle...


simply pull outward, keeping in mind the tab at the rear of the handle


use your tool to pop open the panel under the handle...


now you can remove the 4 7mm screws in the handle area


 and 2 7mm underneath the door

I didnt do this on the fronts, but removing the door handle clip is really easy - just pry down on the tab at the bottom of the clip, it pops right out!

remember to unplug the connectors - I had 2 behind the handle and of course, the wire clip going to the speaker itself...  naked door!!!


You will still use your 7mm socket, remove the 3 screws from the speaker - there are 2 pegs in the speaker mount - don't worry the speaker won't fall out :)

ok - NOW the door is really naked :)


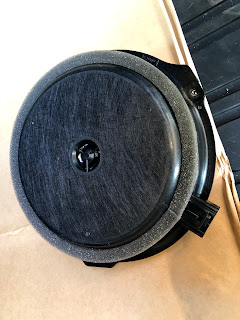
look at the stock unit... yikes!  makes you think WHAT ARE THOSE!!!?!?!?


Slowly peel back the sealant on the vapor barrier, use a utility knife carefully - you'll re-use the stuff.

Oops - forgot this tool!  


Also - this is the Dynamat Extreme pack I used, 9 sheets - and I've used 2 sheets per door!
try to get as much inside the door panel as you can...


Here's how I do the speaker holes - start at the center and cut radially to the edges, I usually do 8 slices (like cutting a pizza)


another pic slicing...


next - put each slice behind the door and tuck it in tightly against the back of the panel - this acts as a good seal for the speaker mount and also adds sound deadening right at the speaker


now you can see the finished speaker opening - be sure you use a utility knife to poke the Dynamat where the speaker mount screws are...


keep working on the door panel with dynamat and rolling it out


here you can see the new speaker next to the OEM one...


note that there is no 'hole' in the mouting bracket for the wiring harness so I chose to pinch the wires in between the dynamat and bracket


The dynamat is soft enough to allow some play in the wiring so I'm not worried they'll wear much...


Put it all back together again, and you're done!

The sound of these Pioneer speakers is lightyears better than the stock speakers!
Hope you enjoy!


Finally installed my subwoofer upgrade

 So many projects, so little time... but I've been wanting to update my subwoofer and amp for as long as I've owned the truck - it&#...