
Here are some quick tips in case you haven't done this before!
Here are the tools I used: (turn off your ad blocker to see!)

Ryobi P1811 One+ Compact Drill/Driver Kit (5 Piece Bundle: 1x P208 Dril…

Stanley 60-004 Standard Fluted Standard Slotted Tip Screwdriver, 1/4 In…

View on Amazon

JubileeYarn Titanium Softgrip Scissors Set for Sewing, Arts, Crafts, Of…

TEKTON 1/4 Inch Drive x 9 mm 6-Point Socket | 14114

Plastic Fastener Remover Clip Handle Car Door Upholstery Panel Clip Rem…

Park Tool TL-1.2 Tire Lever Set
Welcome to the rear doors - very much like the front but only 6 x 7mm screws

he tools that were used...

flat screwdriver slot at the bottom front to help you pry off the handle...

simply pull outward, keeping in mind the tab at the rear of the handle


now you can remove the 4 7mm screws in the handle area


I didnt do this on the fronts, but removing the door handle clip is really easy - just pry down on the tab at the bottom of the clip, it pops right out!

remember to unplug the connectors - I had 2 behind the handle and of course, the wire clip going to the speaker itself... naked door!!!

You will still use your 7mm socket, remove the 3 screws from the speaker - there are 2 pegs in the speaker mount - don't worry the speaker won't fall out :)

ok - NOW the door is really naked :)

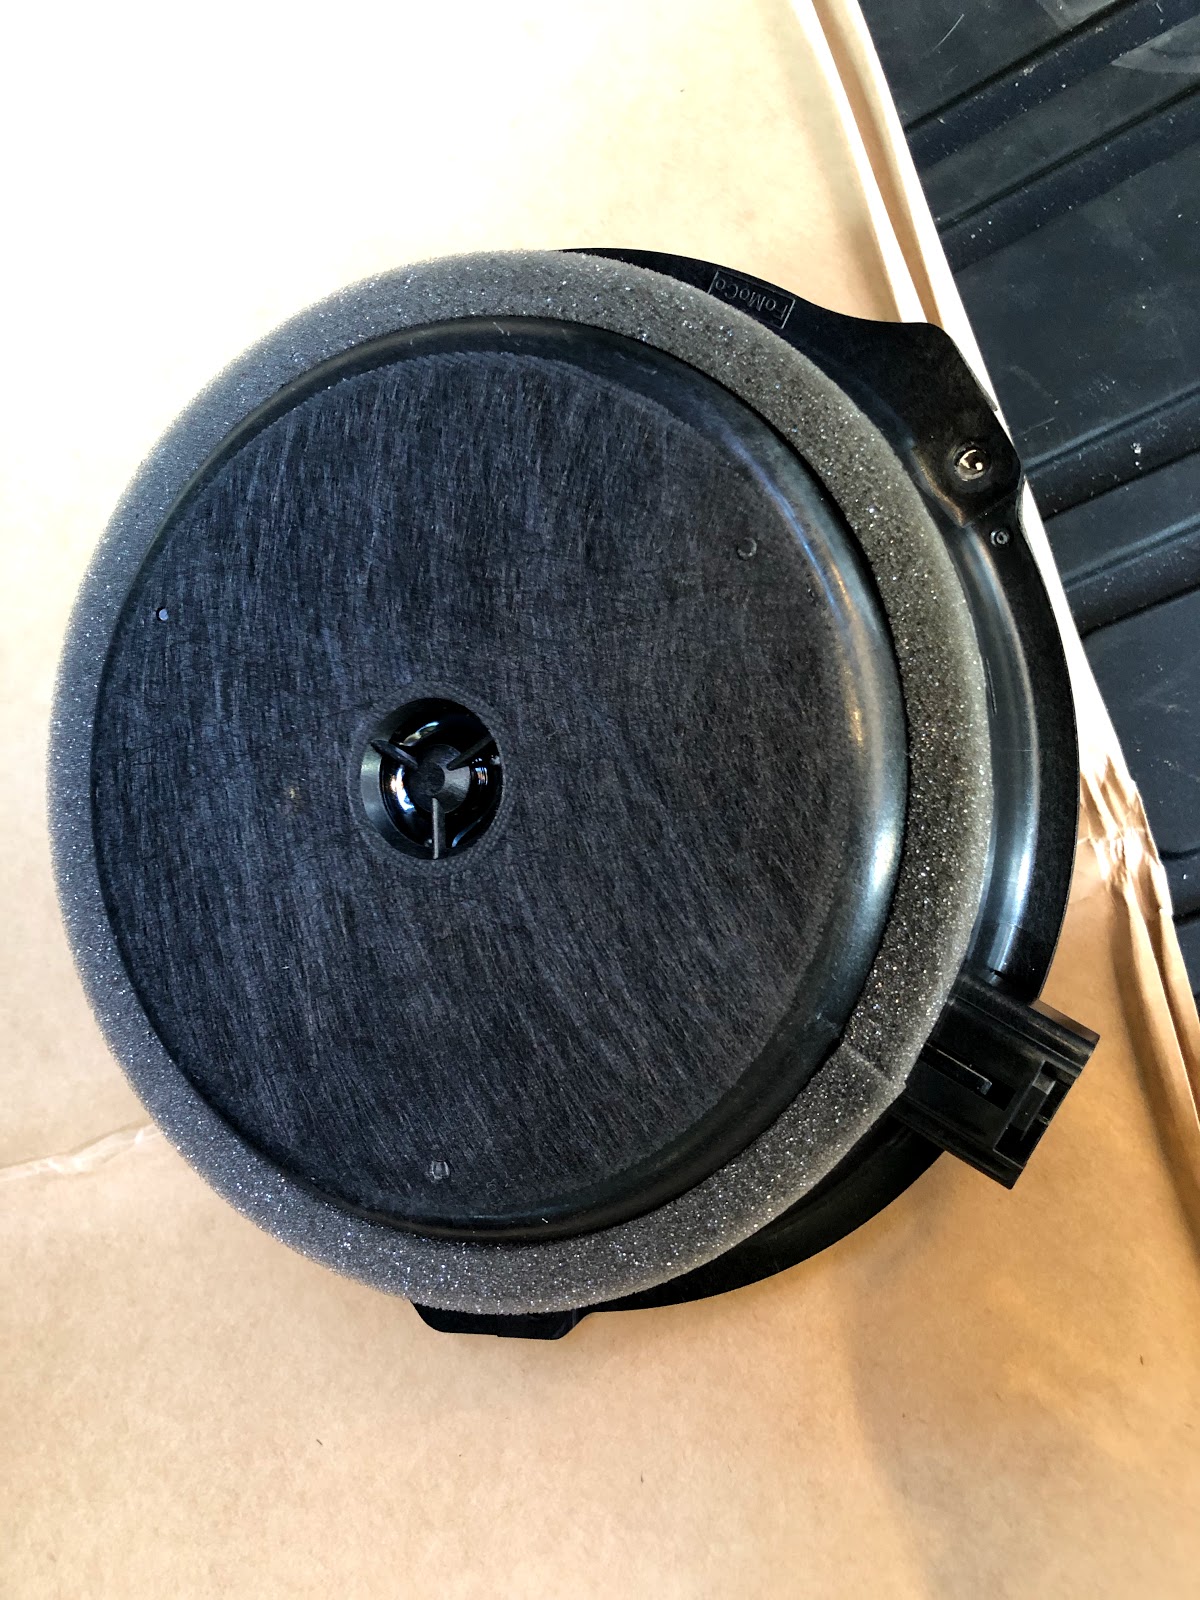
look at the stock unit... yikes! makes you think WHAT ARE THOSE!!!?!?!?

Slowly peel back the sealant on the vapor barrier, use a utility knife carefully - you'll re-use the stuff.

Oops - forgot this tool!

Dynamat Dynaroller: Rubber Roller Tool for Applying Sound Deadening and…


Also - this is the Dynamat Extreme pack I used, 9 sheets - and I've used 2 sheets per door!
try to get as much inside the door panel as you can...

Dynamat Xtreme Bulk Pack Deadening

Here's how I do the speaker holes - start at the center and cut radially to the edges, I usually do 8 slices (like cutting a pizza)

another pic slicing...

next - put each slice behind the door and tuck it in tightly against the back of the panel - this acts as a good seal for the speaker mount and also adds sound deadening right at the speaker

now you can see the finished speaker opening - be sure you use a utility knife to poke the Dynamat where the speaker mount screws are...

keep working on the door panel with dynamat and rolling it out

here you can see the new speaker next to the OEM one...
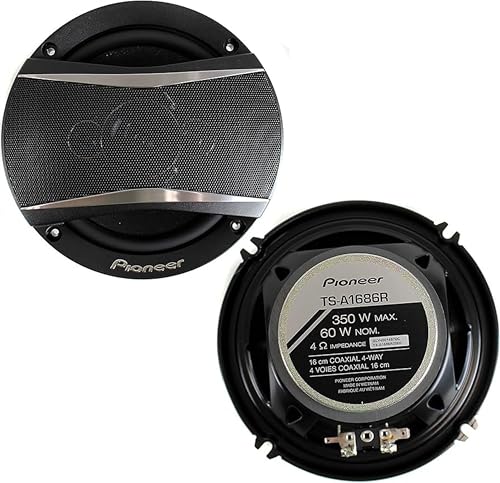
Pioneer TS-A1680F 6.5" 4-Way Car Speakers Pair

note that there is no 'hole' in the mouting bracket for the wiring harness so I chose to pinch the wires in between the dynamat and bracket

Metra 82-5605 Rear 6.5-Inch Speaker Wire Wall Plate (Speaker Wall Plate…
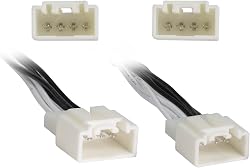
Metra Ford Speaker Harness for Bronco 21-Up, Wire Connector Adapter

The dynamat is soft enough to allow some play in the wiring so I'm not worried they'll wear much...
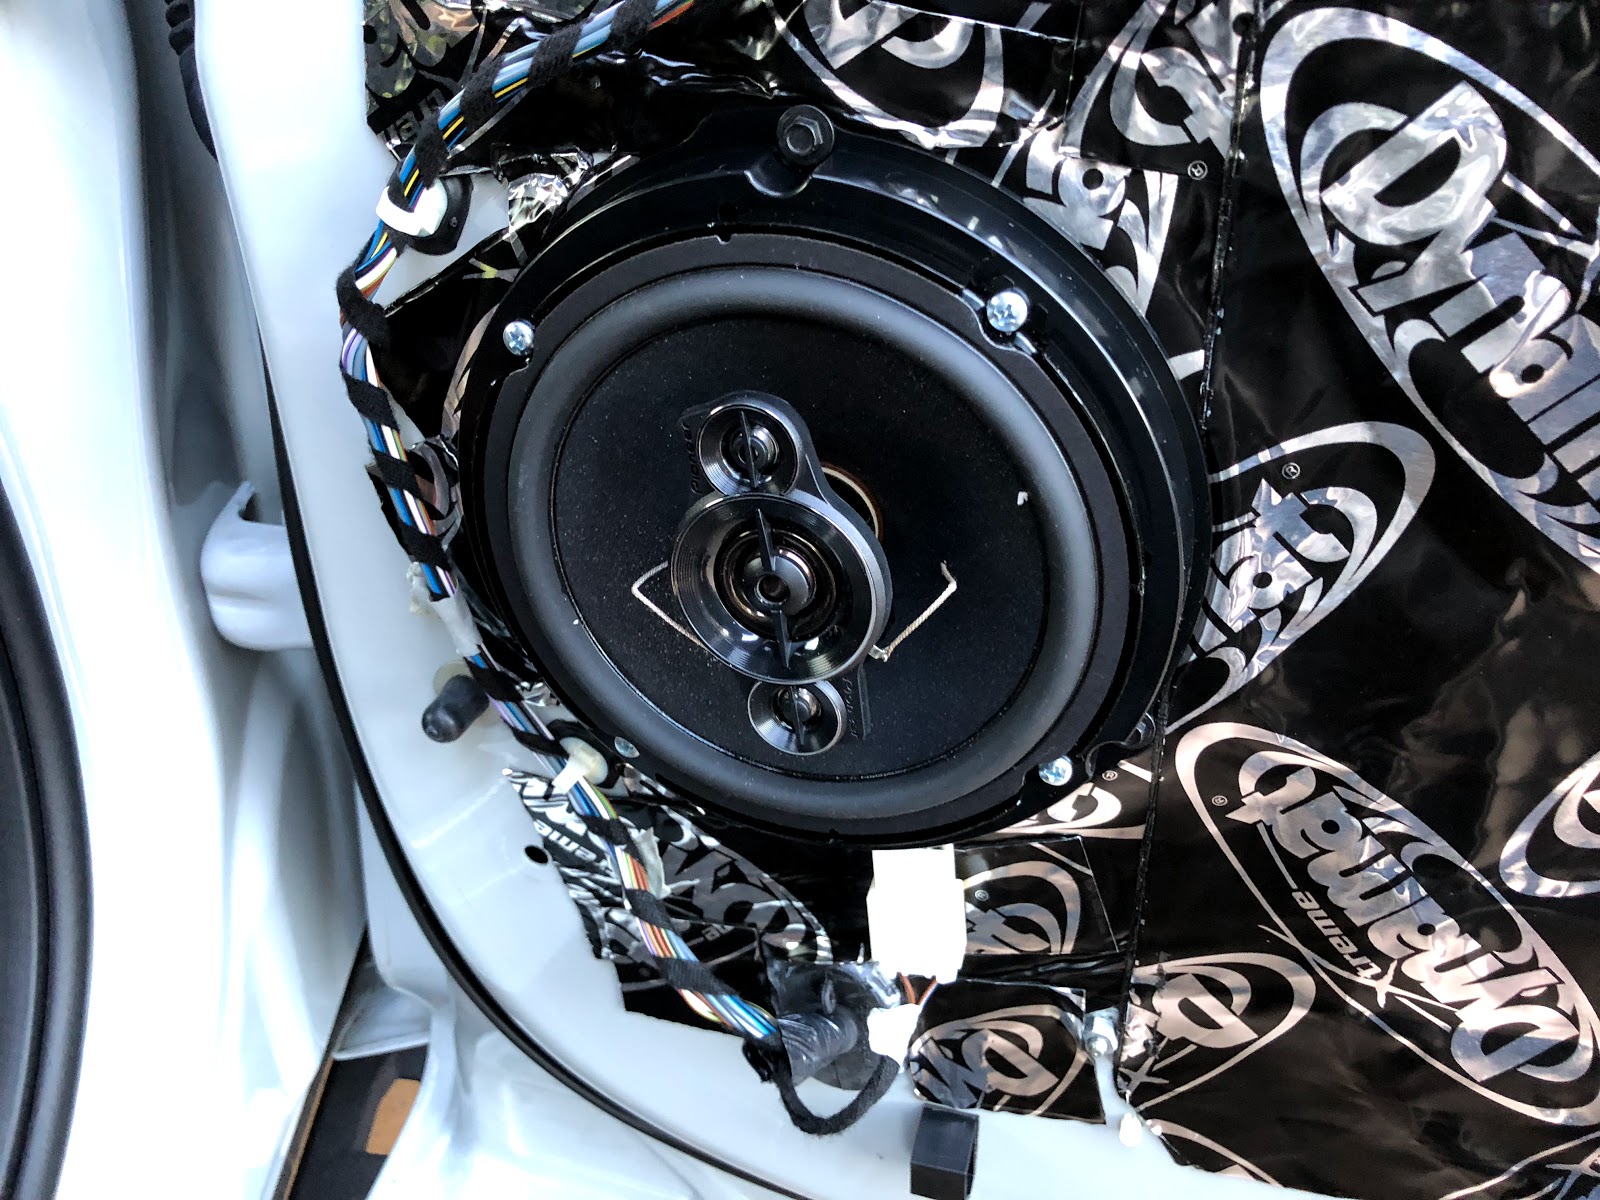
Put it all back together again, and you're done!
The sound of these Pioneer speakers is lightyears better than the stock speakers!
Hope you enjoy!


