Note: This page works best with your ad-blocker turned off :)
Amazon Associates Disclosure: As an Amazon Associate, I earn from qualifying purchases. Some links below are affiliate links, meaning I may earn a commission at no extra cost to you. Thanks for supporting my projects!
Hey there, audio enthusiasts! The Sony sound system in my Ford Raptor’s 802a package is solid, but it’s missing that crystal-clear highs and deep bass punch I crave for long drives. So, I’m diving into a fun DIY stereo upgrade to give my truck’s audio some serious love. If you’re like me and music makes those road trips epic, this project’s for you! 😎
I’m aiming to keep the total cost around $570, which covers everything, including enough sound deadening material to line the whole truck. My inspiration? This awesome thread on the
Ford Raptor Forum that got me pumped to upgrade on a budget.
First up, let’s tackle road noise with some sound deadening. I’m going all-in with the
Dynamat Xtreme Bulk Pack (36 sqft) to cover the doors and other key spots. For tighter areas, the
Dynamat Xtreme Door Kit (12 sqft) is perfect. Recently, I learned you’ll need two of these kits for full coverage. Want a lighter option? The
Dynamat SuperLite Bulk Pack (36 sqft) keeps weight down without sacrificing performance. On a budget? I’ve also got the
Noico 80 mil 36 sqft Sound Deadening Mat as a wallet-friendly alternative that still gets the job done.
Now, let’s talk speakers—the heart of any audio setup. After some research, I’m sold on the Pioneer A-Series for their bang-for-buck value. You really can’t go wrong at these prices! For the front doors, I’m installing the
Pioneer TS-A6990F 6x9" 5-Way Speakers, paired with
Metra 6x9" Speaker Adapter Brackets for a perfect fit in my Raptor.
For the rear doors, I’m going with the
Pioneer TS-A1680F 6.5" 4-Way Speakers, also using
Metra 6.5" Speaker Adapter Brackets to make installation a breeze. These speakers deliver crisp sound without breaking the bank.
The front pillars need 7/8" tweeters, and I’m eyeing the
Pioneer TS-T110 7/8" Tweeters for their clarity. As a backup, the
Pioneer TS-T15 3/4" Tweeters are a solid alternative. For the center dash, I’m swapping in the
Pioneer TS-A1370F 5.25" Speakers, which adapt well to the 3.5" slot and keep the sound balanced.
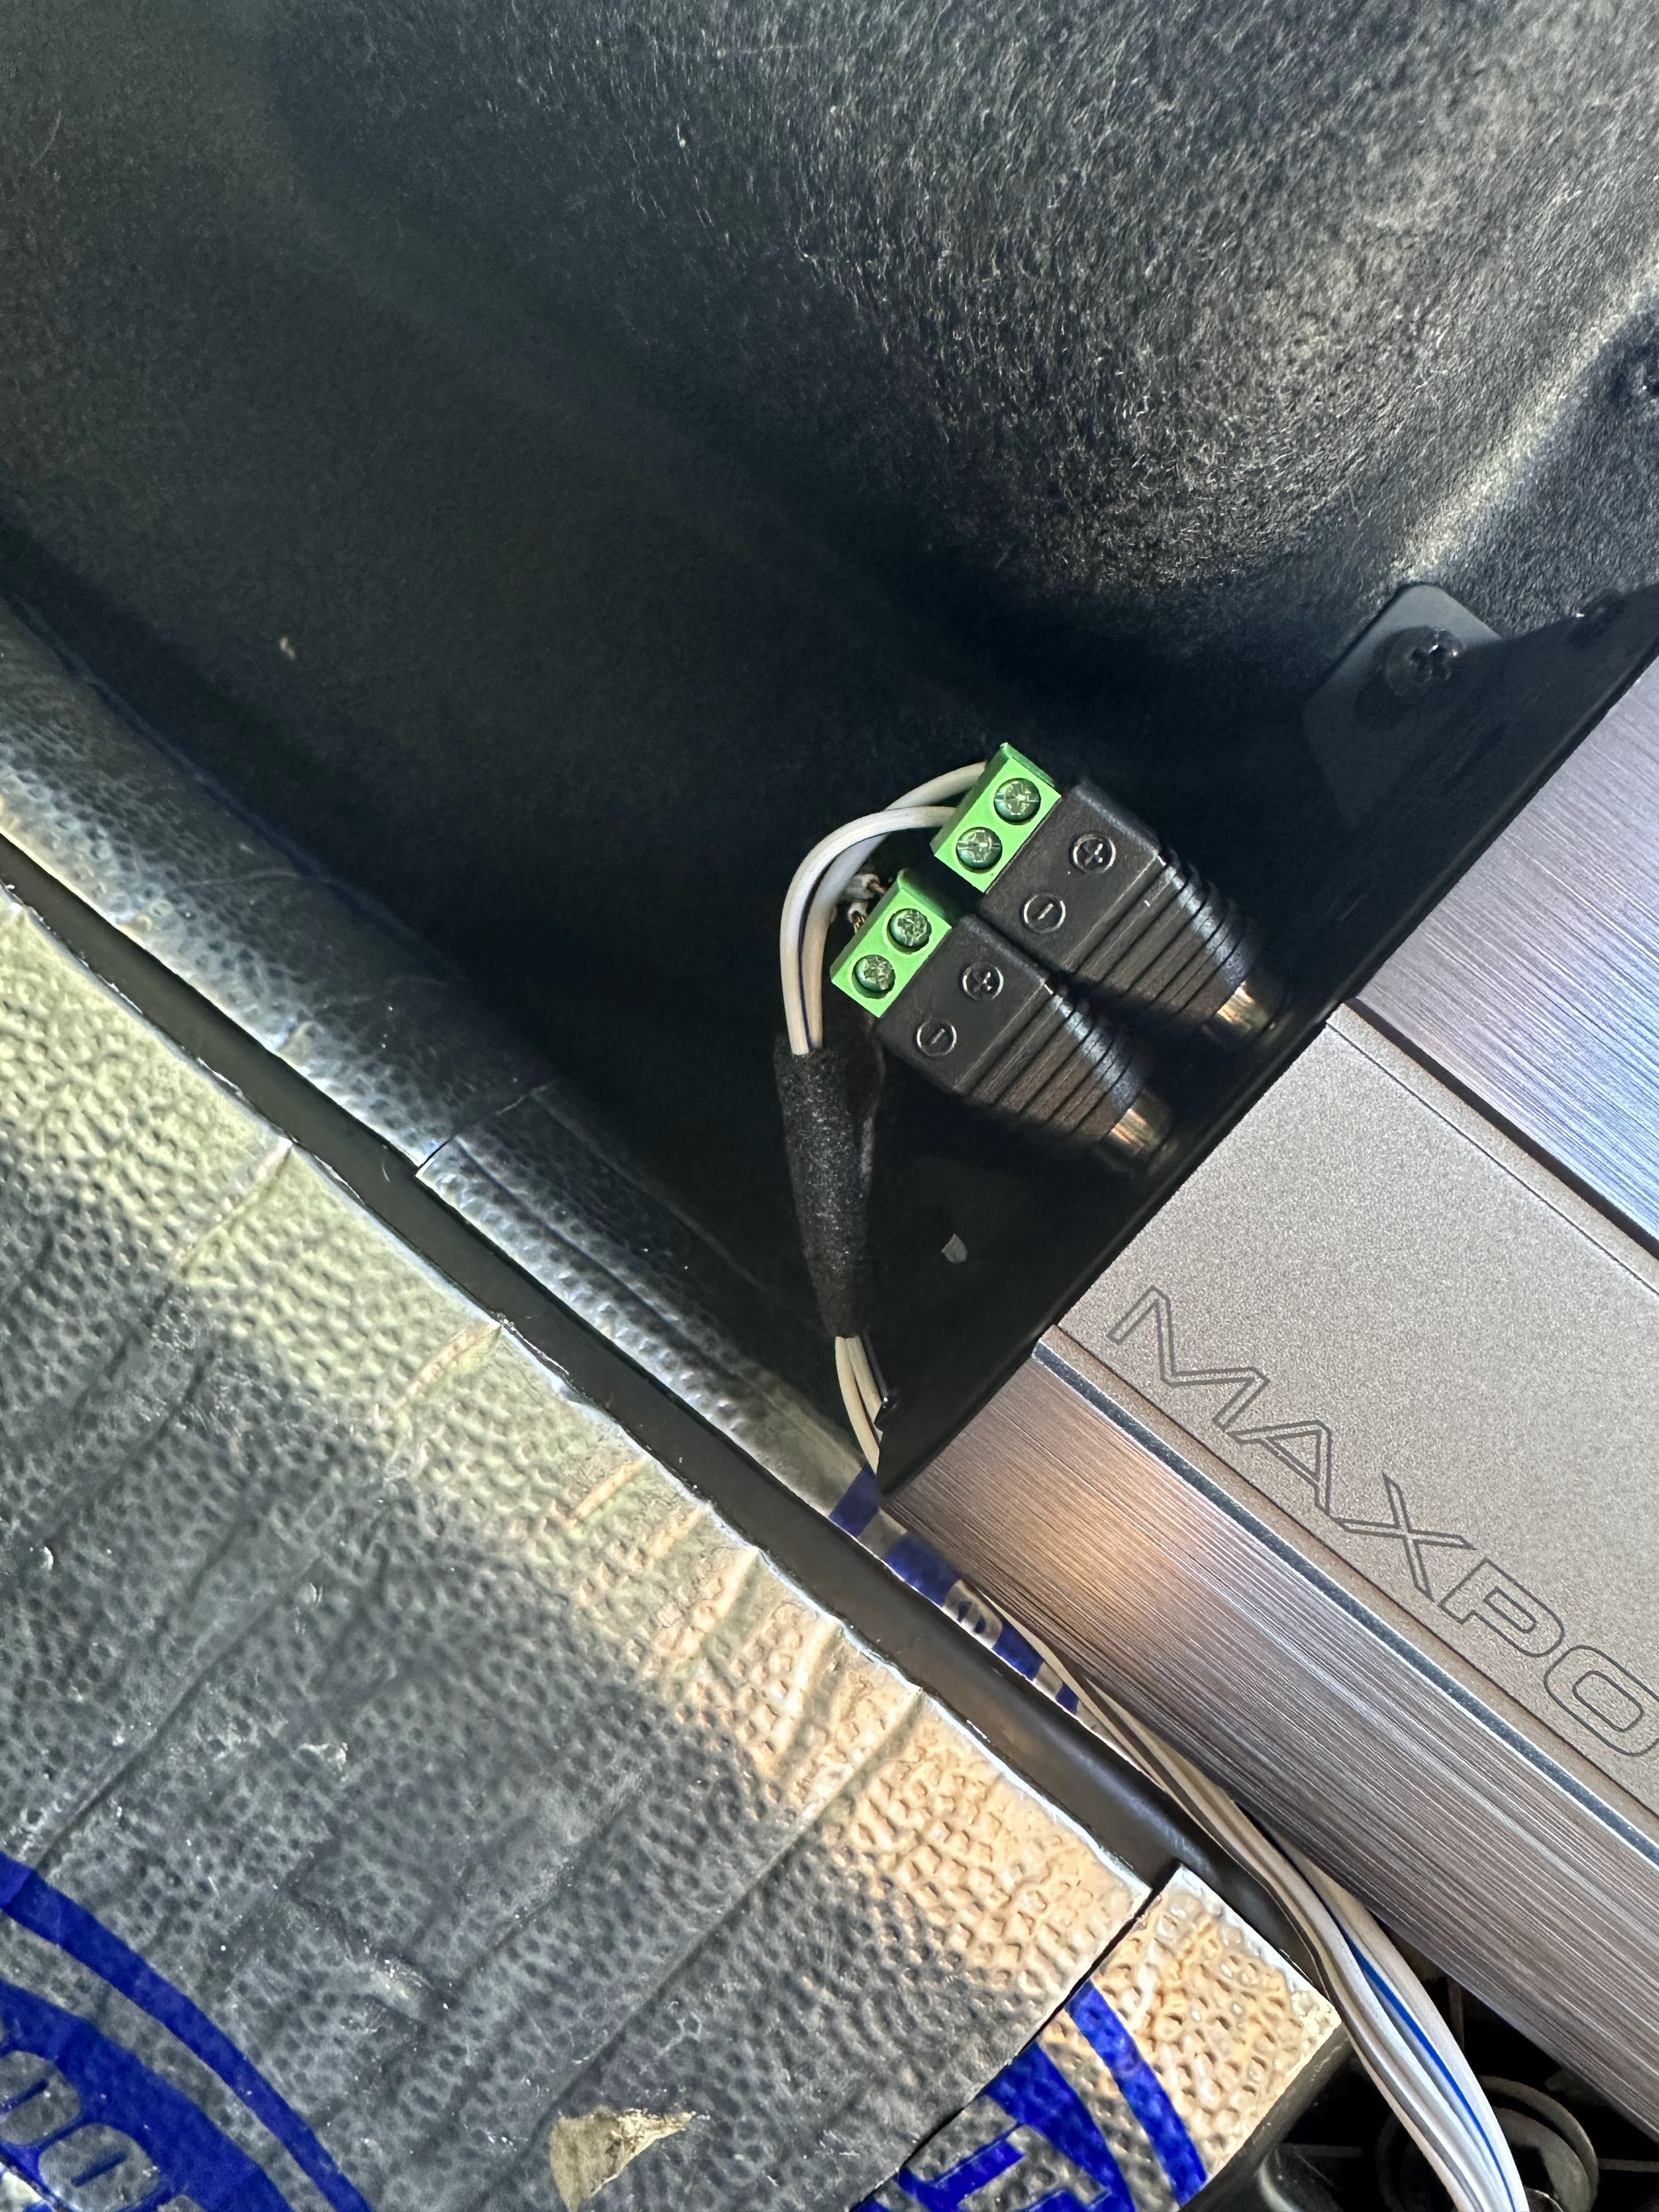
To bring the bass, I’m retrofitting a
Pioneer TS-WX1210A 12" Powered Subwoofer into the existing subwoofer cabinet. Powering it all is the
Pioneer GM-D8704 4-Channel Amplifier, wired up with the
InstallGear 4-Gauge Amplifier Wiring Kit for a clean, reliable setup.
Since I’m a fan of Sony’s audio quality, I’m also considering the
Sony HT-A3000 3.1ch Dolby Atmos Soundbar to complement the truck’s system. It’s not a direct car audio fit, but its clarity and bass could inspire some home audio tweaks to match the vibe!
This setup is shaping up to transform my Raptor’s audio for under $600! Got any tips or upgrades you’ve tried? Drop a comment, and let’s geek out over car audio!